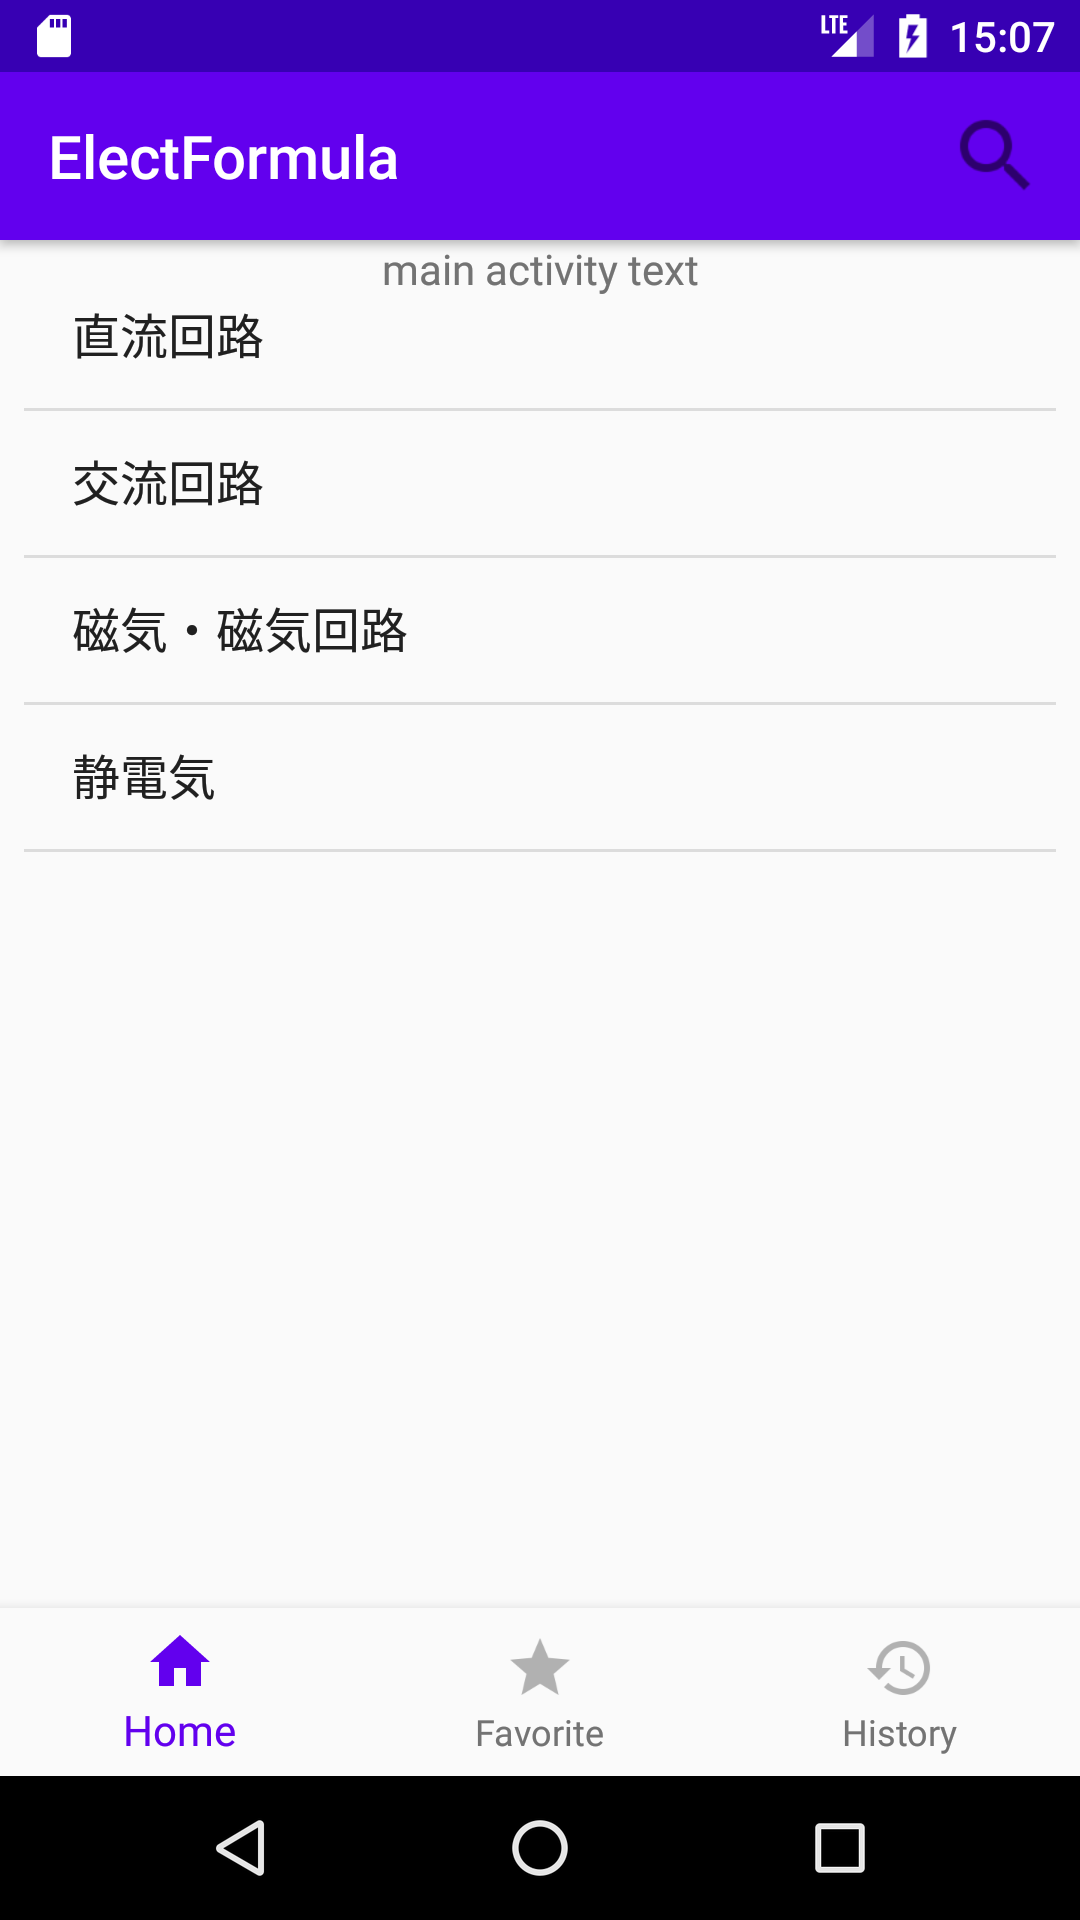
androidアプリのfragmentの表示でどうしても出来ないことがあり、質問させて頂きます。
#実現したいこと
現在作成しているアプリは画面下部にナビ、その上部にfragumentのListViewが表示されており、リストの項目をタップしていくことで次のfragmentを表示するアプリを作っております。fragmentは3階層まであり、3階層目でユーザーが選択した項目の詳細(用語説明など)を表示させるものです。
fragmentの書き換えには、replace(R.id.○○, 次のfragment)を用いております。
問題点
しかし、リストに表示される項目をタップすると、次のフラグメントが重なって表示されてしまいます。
また、Androidのバックキーを押すと、一つ前の階層のfragmentに戻って欲しいのですが、全て飛ばして最初の階層まで戻ってしまう状況です。
試したこと
調べていくと、「XML内に描いたfragmentはremove、replace」してはならない」という情報があった為、それを踏まえ以下のようにコードを書きました。仮となるFlameLayoutをXMLへ書いておき、onCreateで即座に最初のフラグメント「homeFragment」でreplaceしています。
XML
1<androidx.constraintlayout.widget.ConstraintLayout xmlns:android="http://schemas.android.com/apk/res/android" 2 xmlns:app="http://schemas.android.com/apk/res-auto" 3 xmlns:tools="http://schemas.android.com/tools" 4 android:id="@+id/container" 5 android:layout_width="match_parent" 6 android:layout_height="match_parent"> 7 8 <!-- 下部のナビの部分 --> 9 <com.google.android.material.bottomnavigation.BottomNavigationView 10 android:id="@+id/nav_view" 11 android:layout_width="0dp" 12 android:layout_height="wrap_content" 13 android:layout_marginStart="0dp" 14 android:layout_marginEnd="0dp" 15 android:background="?android:attr/windowBackground" 16 app:layout_constraintBottom_toBottomOf="parent" 17 app:layout_constraintLeft_toLeftOf="parent" 18 app:layout_constraintRight_toRightOf="parent" 19 app:menu="@menu/bottom_nav_menu" /> 20 21 22 <!-- このフレームレイアウトは仮。MainActivityのonCreateとともにホームフラグメントへ置き換えられる --> 23 <FrameLayout 24 android:id="@+id/nav_host" 25 android:layout_width="match_parent" 26 android:layout_height="match_parent" 27 app:layout_constraintHorizontal_bias="0.0" 28 app:layout_constraintLeft_toLeftOf="parent" 29 app:layout_constraintRight_toRightOf="parent" 30 android:layout_marginBottom="70dp" 31 > 32 </FrameLayout> 33</androidx.constraintlayout.widget.ConstraintLayout>
Kotlin
1class MainActivity : AppCompatActivity(){ 2 override fun onCreate(savedInstanceState: Bundle?) { 3 super.onCreate(savedInstanceState) 4 //メイン画面の読み込み 5 setContentView(R.layout.activity_main) 6 //ページ下部のナビ部分を読み込み 7 val navView: BottomNavigationView = findViewById(R.id.nav_view) 8 9 //FlameLayoutを即座に、最初のfragment「homeFragment」のリストで上書きする 10 var homeFragment: HomeFragment = HomeFragment() 11 val fragmentManager = supportFragmentManager 12 val transaction = fragmentManager.beginTransaction() 13 transaction.replace(R.id.nav_host, homeFragment) 14 transaction.commit() 15 } 16}
表示される最初のhomeFragmentは下記のように書きました。ListViewの項目がタップされたときのイベントリスナーの部分で次のfragmentである「caregory」フラグメントへreplaceしています。
Kotlin
1class HomeFragment : Fragment() { 2 override fun onCreateView( 3 inflater: LayoutInflater, 4 container: ViewGroup?, 5 savedInstanceState: Bundle? 6 ): View? { 7 val root = inflater.inflate(R.layout.list_view, container, false) 8 return root 9 } 10 override fun onViewCreated(view: View, savedInstanceState: Bundle?) { 11 super.onViewCreated(view, savedInstanceState) 12 // ListViewに表示するデータを読み込む 13 val homeArray = resources.getStringArray(R.array.home_array) 14 // ListViewをセット 15 val adapter = 16 this.context?.let { ArrayAdapter<String>( 17 it, 18 android.R.layout.simple_list_item_1, 19 homeArray 20 ) } 21 val listView: ListView = view.findViewById(R.id.listView) as ListView 22 listView.adapter = adapter 23 24 // listViewの行がクリックされた時のイベントリスナー 25 listView.setOnItemClickListener { parent, view, position, id -> 26 27 //次のフラグメント「カテゴリフラグメント」を表示する 28 val fragmentManager: FragmentManager = childFragmentManager 29 30 // FragmentManagerからFragmentTransactionを作成 31 val fragmentTransaction: FragmentTransaction = fragmentManager.beginTransaction() 32 33 // 次のリストとなるFragmentの作成 34 val categoryFragment: Fragment = CategoryFragment() 35 36 // 次のフラグメントへreplace 37 fragmentTransaction.replace(R.id.list, categoryFragment) 38 39 // backstackに追加 → 端末の戻るボタン押した時に、このアクティビティに戻ってくる設定にする 40 fragmentTransaction.addToBackStack(null) 41 42 // 上記の変更を反映する 43 fragmentTransaction.commit() 44 } 45 } 46}
また、HomeFragmentにて使用している「R.id.list」は以下のXMLファイル「list_view.xml」にて記述しております。
XML
1<androidx.constraintlayout.widget.ConstraintLayout 2 xmlns:android="http://schemas.android.com/apk/res/android" 3 xmlns:app="http://schemas.android.com/apk/res-auto" 4 xmlns:tools="http://schemas.android.com/tools" 5 android:layout_width="match_parent" 6 android:layout_height="match_parent" 7 android:id="@+id/list" 8 tools:context=".ui.home.HomeFragment"> 9 10 <ListView 11 android:id="@+id/listView" 12 android:layout_width="match_parent" 13 android:layout_height="match_parent" 14 android:layout_marginStart="8dp" 15 android:layout_marginTop="8dp" 16 android:layout_marginEnd="8dp" 17 > 18 </ListView> 19</androidx.constraintlayout.widget.ConstraintLayout>
なかなか先に進めておらず、ご教授いただければ幸いです。
回答1件
あなたの回答
tips
プレビュー


バッドをするには、ログインかつ
こちらの条件を満たす必要があります。
2020/09/21 15:03
2020/09/22 07:23 編集
2020/09/22 08:08
2020/09/24 11:21
2020/09/24 11:30
2020/09/25 12:51