Swift
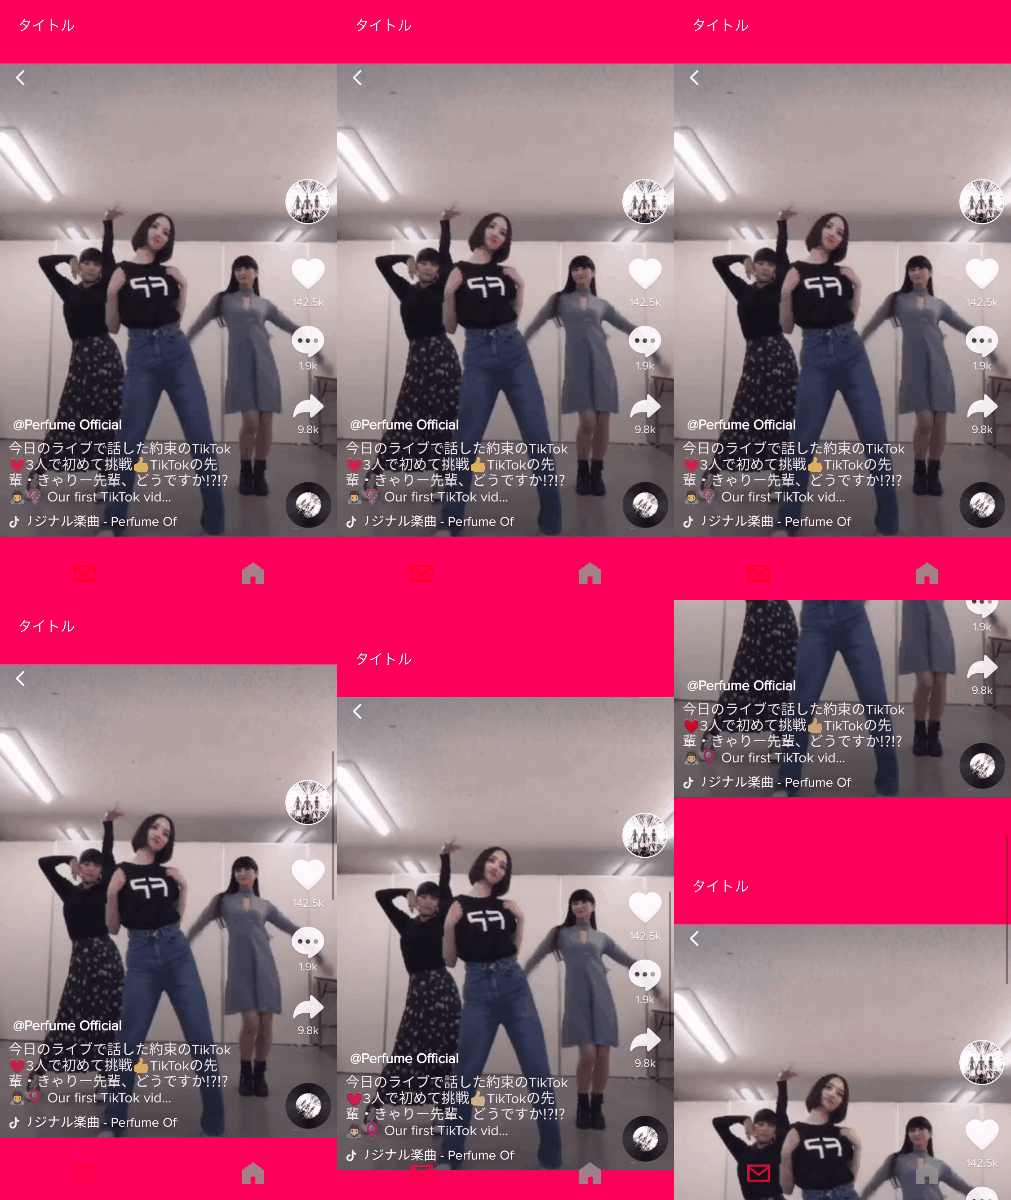
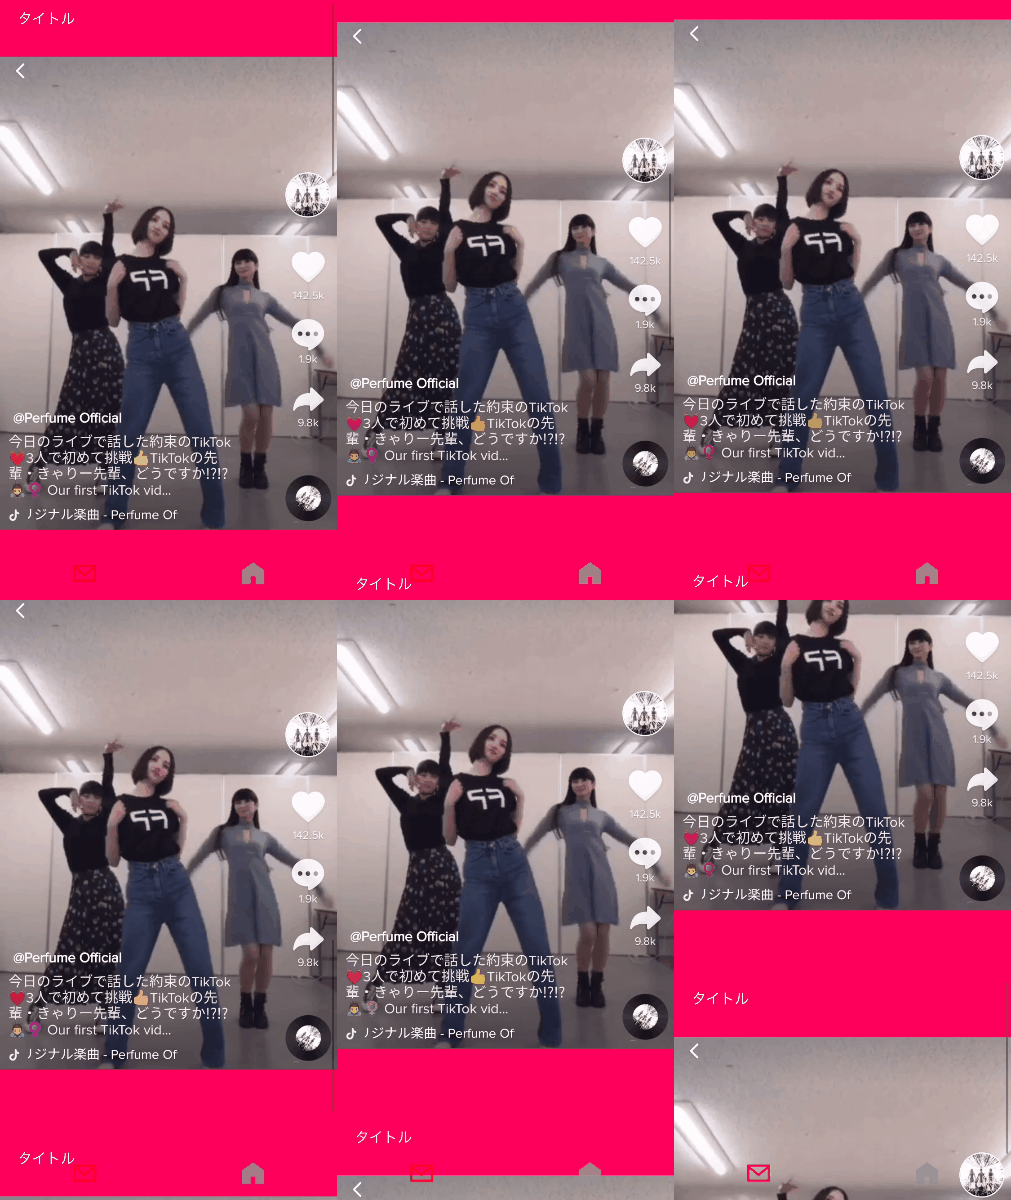
1 2// スクロール画面のソース 3 4import UIKit 5import Firebase 6import FirebaseDatabase 7import FirebaseUI 8 9class ScrollViewController: UIViewController, UIScrollViewDelegate, UICollectionViewDelegate, UICollectionViewDataSource { 10 11 @IBOutlet weak var scrollView: UIScrollView! 12 @IBOutlet weak var collectionView: UICollectionView! 13 14 var storage: Storage! 15 16 override func viewDidLoad() { 17 super.viewDidLoad() 18 19 collectionView.delegate = self 20 collectionView.dataSource = self 21 storage = Storage.storage() 22 23 // 自作セルをテーブルビューに登録する 24 let chatXib = UINib(nibName: "ScrollCollectionViewCell", bundle: nil) 25 collectionView.register(chatXib, forCellWithReuseIdentifier: "MyCell") 26 27 // レイアウトを調整 28 let layout = UICollectionViewFlowLayout() 29 layout.minimumInteritemSpacing = 0 30 layout.minimumLineSpacing = 0 31 layout.scrollDirection = .vertical 32 collectionView.collectionViewLayout = layout 33 34 } 35 36 override var prefersStatusBarHidden:Bool { 37 // trueの場合はステータスバー非表示 38 return true; 39 } 40 41 /* 42 Cellが選択された際に呼び出される 43 */ 44 func collectionView(_ collectionView: UICollectionView, didSelectItemAt indexPath: IndexPath) { 45 46 print("Num: (indexPath.row)") 47 tabBarController?.tabBar.isHidden = true 48 performSegue(withIdentifier: "toChatViewController", sender: nil) 49 50 } 51 52 /* 53 Cellの総数を返す 54 */ 55 func collectionView(_ collectionView: UICollectionView, numberOfItemsInSection section: Int) -> Int { 56 return 4 57 } 58 59 /* 60 Cellに値を設定する 61 */ 62 func collectionView(_ collectionView: UICollectionView, cellForItemAt indexPath: IndexPath) -> UICollectionViewCell { 63 64 let cell = collectionView.dequeueReusableCell(withReuseIdentifier: "MyCell", for: indexPath) as! ScrollCollectionViewCell 65 66 let name = cell.viewWithTag(1) as! UILabel 67 name.text = "タイトル" 68 name.textColor = .white 69 70 let img = cell.viewWithTag(2) as! UIImageView 71 let storageRef = self.storage.reference() 72 let perfumeRef = storageRef.child("perfume.jpg") 73 img.sd_setImage(with: perfumeRef) 74 img.isUserInteractionEnabled = true 75 img.frame.size.height = UIScreen.main.bounds.height 76 77 return cell 78 } 79 80} 81 82extension ScrollViewController: UICollectionViewDelegateFlowLayout { 83 84 func collectionView(_ collectionView: UICollectionView, layout collectionViewLayout: UICollectionViewLayout, sizeForItemAt indexPath: IndexPath) -> CGSize { 85 // 例えば端末サイズの半分の width と height にして 2 列にする場合 86 let width: CGFloat = UIScreen.main.bounds.width 87 let height = UIScreen.main.bounds.height 88 return CGSize(width: width, height: height) 89 } 90} 91
Swift
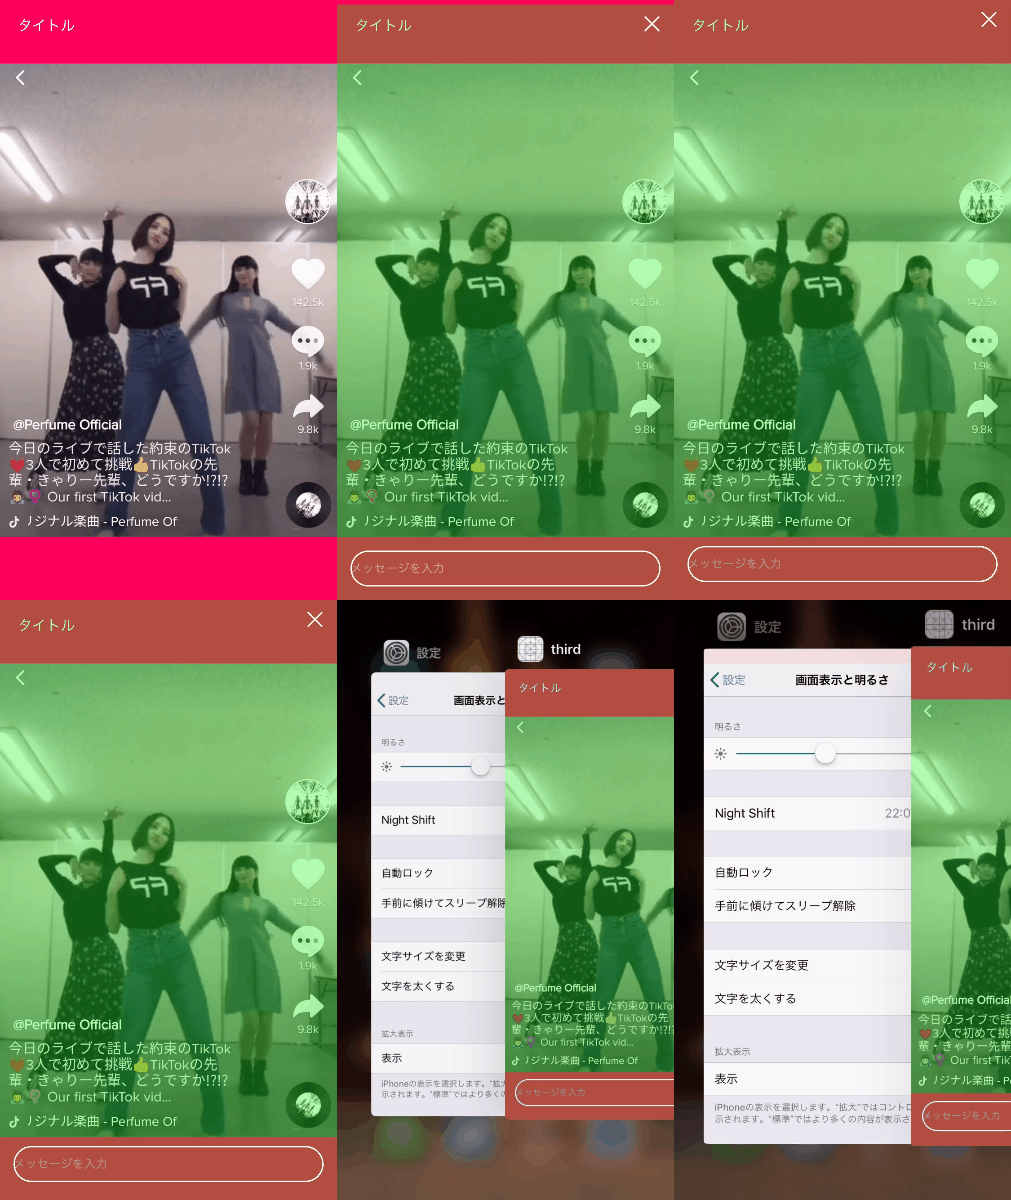
1 2//モーダル画面のソース 3 4import UIKit 5 6class ChatViewController: UIViewController, UIScrollViewDelegate, UITextFieldDelegate, UITextViewDelegate, UITableViewDelegate, UITableViewDataSource { 7 8 @IBOutlet weak var scrollView: UIScrollView! 9 @IBOutlet weak var coverView: UIView! 10 @IBOutlet weak var tableView: UITableView! 11 @IBOutlet weak var tableWrapperView: UIView! 12 @IBOutlet weak var inputWrap: UIView! 13 @IBOutlet weak var textField: UITextField! 14 @IBOutlet weak var tableWrapperHeight: NSLayoutConstraint! 15 @IBOutlet weak var topConstraint: NSLayoutConstraint! 16 17 var timestamp: TimeInterval! 18 var communityId: String! 19 var communityData: [String:Any]! 20 var messageArr:[[String:Any]] = [] 21 var padding: CGPoint = CGPoint(x: 6.0, y: 0.0) 22 var testCounter = 0 23 var getId = "" 24 var keyboardOn = false 25 var autoScrollFlg = true 26 27 override func viewDidLoad() { 28 super.viewDidLoad() 29 30 tableView.delegate = self 31 tableView.dataSource = self 32 self.textField.delegate = self 33 34 self.scrollView.keyboardDismissMode = .interactive 35 36 // 背景色設定 37 self.view.backgroundColor = UIColor.clear 38 tableView.backgroundColor = UIColor.clear 39 inputWrap.backgroundColor = UIColor.clear 40 textField.backgroundColor = UIColor.clear 41 coverView.backgroundColor = UIColor.clear 42 tableWrapperView.backgroundColor = UIColor.clear 43 scrollView.backgroundColor = UIColor.init(displayP3Red: 0, green: 255, blue: 0, alpha: 0.3) 44 45 let gradientLayer = CAGradientLayer() 46 47 if UIDevice.current.userInterfaceIdiom == .pad { 48 // 使用デバイスがiPadの場合 49 tableWrapperHeight.constant = tableWrapperView.frame.height * 2 50 gradientLayer.frame = CGRect(x: tableWrapperView.bounds.minX, y: tableWrapperView.bounds.minY, width: UIScreen.main.bounds.width - 15, height: tableWrapperView.bounds.height * 2) 51 52 } else { 53 gradientLayer.frame = self.tableWrapperView.bounds 54 } 55 56 57 58 if #available(iOS 11, *) { 59 60 // 新機種 レスポンシブ 61 if UIScreen.main.nativeBounds.height == 2436 || UIScreen.main.nativeBounds.height == 2688 || UIScreen.main.nativeBounds.height == 1792 { 62 topConstraint.constant = -88 63 } 64 } 65 66 // ナビゲーションを透明にする 67 self.navigationController!.navigationBar.setBackgroundImage(UIImage(), for: .default) 68 self.navigationController!.navigationBar.shadowImage = UIImage() 69 self.navigationItem.backBarButtonItem = UIBarButtonItem(title: "", style: .plain, target: nil, action: nil) 70 71 // ボーダー設定 72 let border = CALayer() 73 border.frame = CGRect(x: 0, y: 0, width: UIScreen.main.bounds.width - 30, height: textField.frame.size.height) 74 border.borderColor = UIColor.white.cgColor 75 border.borderWidth = CGFloat(1.5) 76 border.cornerRadius = 20 77 textField.layer.addSublayer(border) 78 79 // プレースホルダー 80 textField.attributedPlaceholder = NSAttributedString(string: "メッセージを入力", attributes: [NSAttributedString.Key.foregroundColor : UIColor(displayP3Red: 255/255, green: 255/255, blue: 255/255, alpha: 0.5)]) 81 82 // 自作セルをテーブルビューに登録する 83 let chatXib = UINib(nibName: "ChatTableViewCell", bundle: nil) 84 tableView.register(chatXib, forCellReuseIdentifier: "communityChatCell") 85 tableView.rowHeight = UITableView.automaticDimension 86 87 timestamp = Date().timeIntervalSince1970 88 89 let notificationCenter = NotificationCenter.default 90 notificationCenter.addObserver(self, selector: #selector(ChatViewController.handleKeyboardWillShowNotification(_:)), name: UIResponder.keyboardWillShowNotification, object: nil) 91 notificationCenter.addObserver(self, selector: #selector(ChatViewController.handleKeyboardWillHideNotification(_:)), name: UIResponder.keyboardWillHideNotification, object: nil) 92 } 93 94 // MARK: UITableView delegate 95 96 func tableView(_ tableView: UITableView, cellForRowAt indexPath: IndexPath) -> UITableViewCell { 97 98 let cell = tableView.dequeueReusableCell(withIdentifier: "communityChatCell", for: indexPath) as! ChatTableViewCell 99 100 return cell 101 } 102 103 func tableView(_ tableView: UITableView, numberOfRowsInSection section: Int) -> Int { 104 return messageArr.count 105 } 106 107 func tableView(_ tableView: UITableView, estimatedHeightForRowAt indexPath: IndexPath) -> CGFloat { 108 return 52 109 } 110 111 112 @IBAction func tapScreen(_ sender: Any) { 113 // キーボードを閉じる 114 self.view.endEditing(true) 115 } 116 117 // キーボード分スライド 118 @objc func handleKeyboardWillShowNotification(_ notification: Notification) { 119 120 keyboardOn = true 121 let userInfo = notification.userInfo! 122 let keyboardScreenEndFrame = (userInfo[UIResponder.keyboardFrameEndUserInfoKey] as! NSValue).cgRectValue 123 let myBoundSize: CGSize = UIScreen.main.bounds.size 124 125 let txtLimit = myBoundSize.height// テキストフィールドの下辺 126 let kbdLimit = myBoundSize.height - keyboardScreenEndFrame.size.height// キーボードの上辺 127 128 // キーボードの位置の方が上の場合 129 if txtLimit >= kbdLimit { 130 scrollView.contentOffset.y = txtLimit - kbdLimit 131 } 132 } 133 134 @objc func handleKeyboardWillHideNotification(_ notification: Notification) { 135 scrollView.contentOffset.y = 0 136 keyboardOn = false 137 } 138 139 // Enterを押したらキーボードが閉じる 140 func textFieldShouldReturn(_ textField: UITextField) -> Bool { 141 142 let message = textField.text// 入力文字を取得 143 if message == "" { 144 return false 145 } 146 147 textField.text = "" 148 textField.resignFirstResponder()// キーボード閉じる 149 150 return true 151 } 152 153 // ボタンで画面を閉じる 154 @IBAction func closeModal(_ sender: Any) { 155 if keyboardOn { return } 156 //呼び出し元のView Controllerを取得しパラメータを渡す 157 let InfoVc = self.presentingViewController as! RootTabBarController 158 InfoVc.tabBar.isHidden = false 159 self.dismiss(animated: true, completion: nil) 160 } 161 162}
回答1件
あなたの回答
tips
プレビュー


バッドをするには、ログインかつ
こちらの条件を満たす必要があります。